How to Make a Crazy Frog AI Video: Step-by-Step Guide
 Crazy Frog AI Video Team
A practical walkthrough for making the invisible-moped chase: choosing a photo, picking a style, generating, and posting the clip.
Only upload photos of yourself or people who agreed to appear. No celebrities or minors.
Keep the invisible-motorcycle idea in the prompt. Describe the rider, the road and the chase.
720p · 12s costs 10 credits. 1080p · 12s costs 30 credits. Longer clips scale and round up.
This clip: 30 credits · 6 clips/month on Pro ($39.90) or 80/year ($319).
This guide is for the shortest possible path from a photo on your phone to a finished Crazy Frog AI clip. It assumes no editing experience and no prompt-writing experience. There are five decisions that matter, and the rest is waiting.
Before you start
You need one portrait of yourself, or one portrait of an adult who has agreed to appear. If you want a second person in the chase, you need a second portrait. Both should be front-facing, evenly lit and sharp. A selfie in daylight is enough; a screenshot from a group chat is usually not.
You also need a way to pay for the render. This site does not give free credits. A one-time Single pack is the smallest entry point; a subscription only makes sense if you plan to post repeatedly. The studio shows the cost before you press Generate, and a failed render is refunded automatically.
Step 1: Choose the style first
Open the studio and look at the style cards before uploading anything. The style determines the frame, the length and the number of photo slots.
- Highway mecha — 16:9, 12 seconds, two portraits. The classic overpass chase.
- Neon circuit — 9:16, 12 seconds, one portrait. Glowing circuit-board road, green and cyan reflections, a cinematic chase.
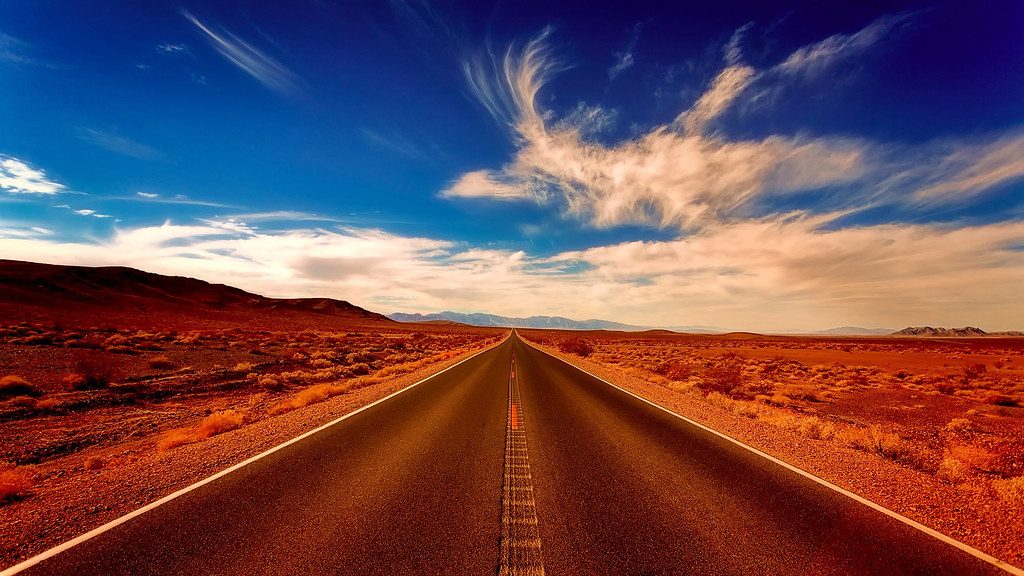
- Desert run — 9:16, 12 seconds, one portrait. Golden hour, red rock, a long empty road.
- Halloween night — 9:16, 12 seconds, one portrait. Jack-o’-lanterns, string lights, a warmer/spookier frame.
- Desert run — 9:16, 10 seconds, one portrait. Golden hour, red rock, a long empty road.
If this is your first render, choose the style whose final aspect ratio matches where you will post. A 16:9 clip in a 9:16 feed will be letterboxed or cropped; a 9:16 clip on a landscape post will have pillarboxes. You can change the aspect ratio manually afterwards, but the style’s default is the one the preset was written for.
Step 2: Upload the right photo
Click the rider slot and choose a photo. The upload is checked before it is sent: JPG, PNG or WebP, up to 10 MB, and the file must be a real image. A portrait with the face fully visible is the goal.
What works:
- One person, alone in the frame.
- Facing the camera, eyes visible, no sunglasses.
- Even daylight or a soft indoor light.
- Waist-up or full body, so the model can see the outfit.
- Sharp at full size on your phone.
What does not:
- A group photo with a tiny face.
- A hat pulled over the eyes, a mask, or a hand across the mouth.
- A heavy beauty filter that has already smoothed the skin.
- A dark, blurry or heavily cropped image.
- A photo of someone who has not agreed to appear.
If you are adding a chaser, use the same standard for the second slot. The model will put that person on the hover-bike. If the second photo is weak, leave the slot empty and let the model create a cop; a good generated cop is better than a bad likeness.
Step 3: Read the prompt, then leave it alone
The style fills the prompt with a description of the chase: the crouch, the invisible handlebars, the cop, the camera move and the “no visible motorcycle” rule. For a first render, do not rewrite it. The preset is written to keep the motion readable and to stop the model from drawing a bike under the rider.
If you do edit it, change one thing at a time. The location is the safest edit: swap the overpass for a street you know, a beach, a supermarket or a forest. The action is riskier: changing the flip to a wheelie or the cop to a friend on a scooter can confuse the model. The identity is the riskiest: do not add a second person to a one-photo style without uploading a second photo.
A useful rule: the prompt should describe what the camera sees, not what you want the viewer to feel. “Low tracking camera, dusk, headlights streaking past” is useful. “Make it go viral” is not.
Step 4: Choose the spec and generate
The default is 1080p, 12 seconds, vertical. The cost badge updates as you change resolution, length or aspect ratio. A 720p 12-second clip is the cheapest way to test a photo; 1080p is the version to post.
Press Generate. The first stage is moderation: the prompt and the photo are checked by an automated safety service before they reach the video model. If the input is flagged, the render is refused and the credits are returned. If it passes, the task is submitted to Seedance 2.0 and the studio polls for the result.
Rendering is not instant. The status moves from queued to processing to success or failed. You can leave the page; the task continues, and the result appears in My videos when it finishes. The studio shows the real status, not a fake percentage.
Step 5: Download, add sound, post
When the clip is ready, preview it. If the likeness holds and the chase reads, download the MP4. The file has no watermark.
The download is silent. The original “Axel F” recording is not licensed to this site, so the clip ships without it. Open TikTok, Reels or Shorts, add a sound you have the right to use, and line the beat drop up with the flip. If you are posting to TikTok, search for the trend sound inside the app and use the version most posts use; the platform handles the licensing for that sound inside its own editor.
Caption the clip with the trend name and the style you used. A caption like “highway mecha, one photo” tells viewers what to search for and gives the algorithm a clear topic. Do not claim the clip is real footage; the joke works better when everyone knows it is AI.
What to do when the result is wrong
The most common problems and the first fix:
- The face drifts or changes. Use a sharper, more front-facing photo with no filter.
- A motorcycle appears under the rider. Remove any mention of a bike from the prompt except the “invisible” instruction, and keep the reference photo clean.
- Hands look strange. This is a known limit of current video models. A shorter clip or a wider shot hides it; a close-up makes it worse.
- The chaser looks nothing like the second photo. The second face may be too small or too dark. Use a clearer portrait, or leave the slot empty and let the model generate a cop.
- The render failed. Credits are returned. Try a shorter clip or a lower resolution before retrying the same settings.
How long it takes
Upload and setup take a minute or two. The render itself depends on the provider queue and the spec; a 720p clip is usually faster than 1080p. The studio does not promise a fixed time because the queue is real. If the task is still processing after a long wait, check My videos rather than starting a second render.
The shortest version
Pick a style, upload a clear portrait, keep the preset prompt, generate at 720p, download, add a licensed sound, post. That is the whole workflow. The rest of this site is detail for when the first result is not good enough.